At smartphoto you’ve had the option to print different types of personalised clothing for some time now. Nothing new? True. But there’s still a lot to tell about it! Because we’ve recently added a number of new options in the creator (this is the page on which you can design your product) that will help you make your design even more original.
What’s more, aside from t-shirts, baby onesies, (kid’s) aprons and bibs, our range now also includes sweatshirts!
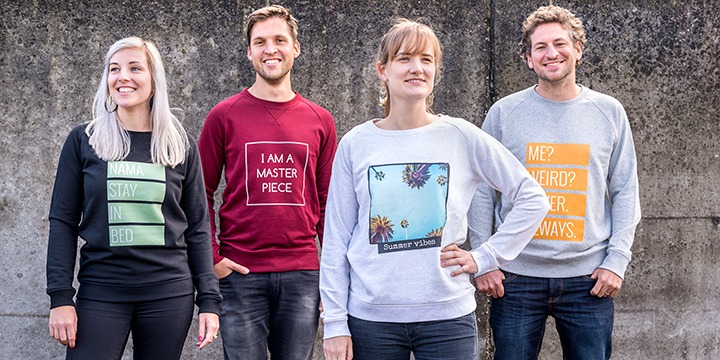
So would you like to design your own sweatshirt, have a custom t-shirt or give a cute, personalised onesie as a baby gift? Then read on because below we’ll tell you all about the latest options for creating your own masterpiece!
Create your own Clothing
First of all: maybe you’re not super creative or you don’t want to have to think too hard about your design? Personalised clothing doesn’t have to be complicated thanks to the many ready-to-use designs from smartphoto. Have a look at the overview page for your product: you’ll find a suitable design for any occasion.
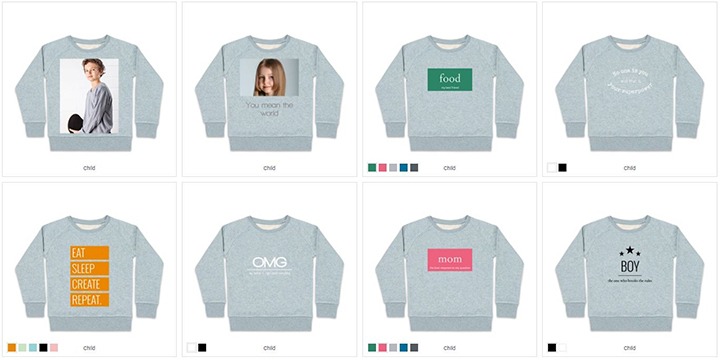
If you do have something specific in mind for customised clothing or want to experiment with a design of your own, then click at the top of the page with designs to get to ‘Create your own Textile’.
Here you’ll find an overview of all the textile products that can be personalised with symbols, slogans and PNGs (see below). Choose your product and read below how to turn it into a stunning piece.
Add text
While in the past with smartphoto you could only print clothing with a fixed design or a single large photo, now you can decide for yourself where to place your photos and text. That means that you can also create a design that is text only (see examples at the bottom of this post).
Text only
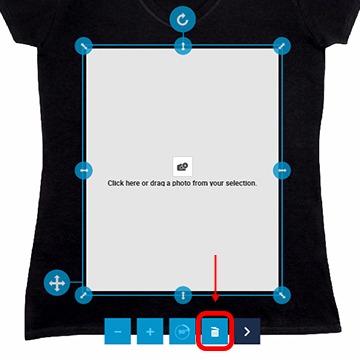 For example if you want a slogan t-shirt, then first remove the photo area that is displayed on the t-shirt:
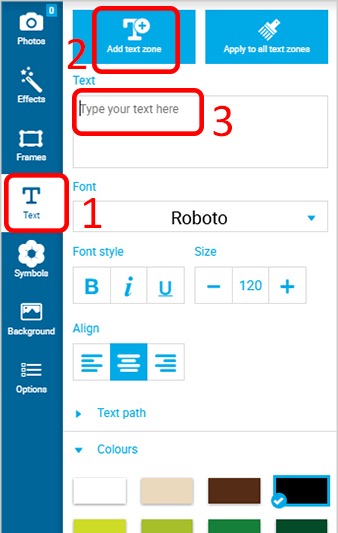 Now, in the left-hand column, open the Text section, click on Add text zone and type your text in the text field. You can then adapt the text (colour, font, size, …) below the text field.
Text path
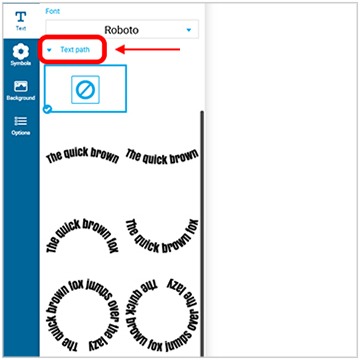
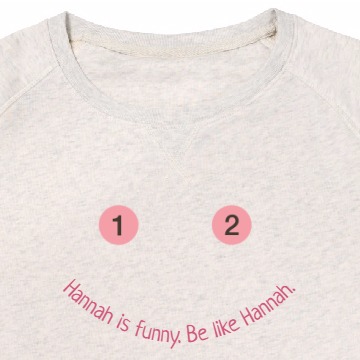
Text path is an item that you’ll find in the Text menu. It allows you to bend your text into a half-circle or full circle.
And don’t forget the symbols
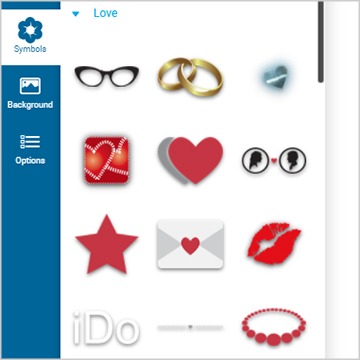
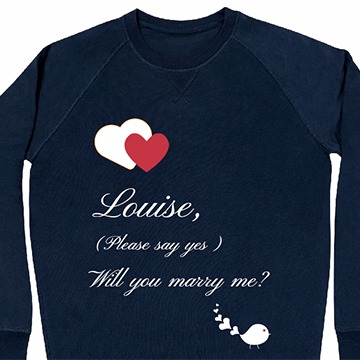
So you’ve added your text! Is your design still missing something? Then you can take it a step further by completing your product with symbols. In the left-hand column of the creator you’ll also find a list of symbols organised by theme.
PNG: PN huh?
This part is for those of you who know something about photo editing. PNG is a file format like others, such as JPEG, GIF, EPS, …. A characteristic of PNG is that you can save certain parts of the photo as transparent. Logos usually come in this file format so that the background will be transparent. But it can also generate interesting results with photos.
To make a part of your photo transparent, it’s best to work with Photoshop. There are also online tools that offer a simple way to do this such as https://clippingmagic.com/ (for a fee) or https://autoclipping.com/ (free).
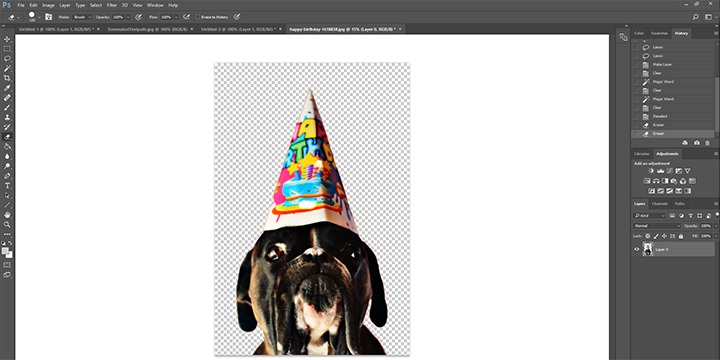
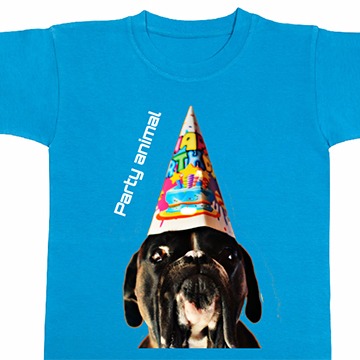
The smartphoto creator will take over this transparency. Where there is transparency nothing will be printed so that the colour of the clothing will be visible:
Personalised clothing: inspiration
There, now that you’ve learned the ins and outs, all you need is a little inspiration to get creative! Are you suffering from writer’s block? Don’t sweat(shirt) it, because Google is your friend! The online treasure trove of original slogans to print on clothing is endless! Here are some fun ideas to get you started. 🙂
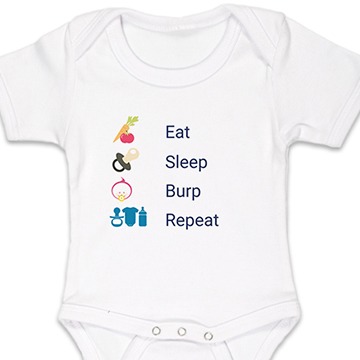
Combine words with symbols
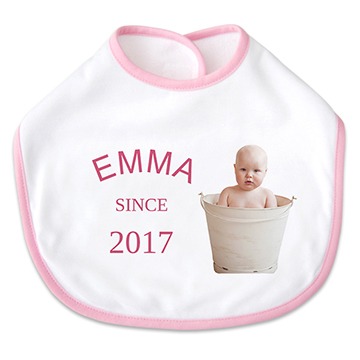
Name/characteristic + SINCE + birth year
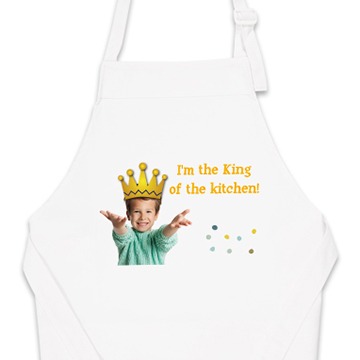
Quotes from movies
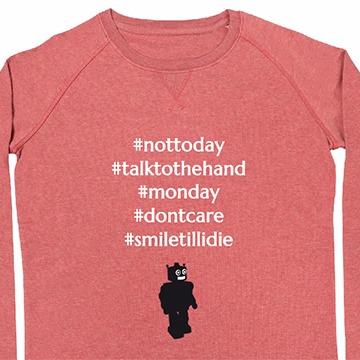
Go wild with hashtags
